Festive Lights Portraits: Balancing Faces and Christmas Lights
Seasonal Photoshoot Field Guide · Lighting and family portraits · Practical guide
Photographing a family beside a lit Christmas tree in the evening is a balance between the ambient background and the people. A single off-camera flash can be the dependable key for faces while the tree and room lights provide atmosphere. Keep the setup familiar and the session short, especially with a toddler.
Decide how bright you want the room and decorations to look, then add one off-camera flash to light the family. Use a modifier and placement you have already practised; this guide is not a reason to debut unfamiliar equipment during a family session.
This is an optional festive-light study, not a separate required session. It can be done during the pre-Christmas rehearsal, as described in the seasonal shoot calendar.
Visual examples: balance and lighting choices
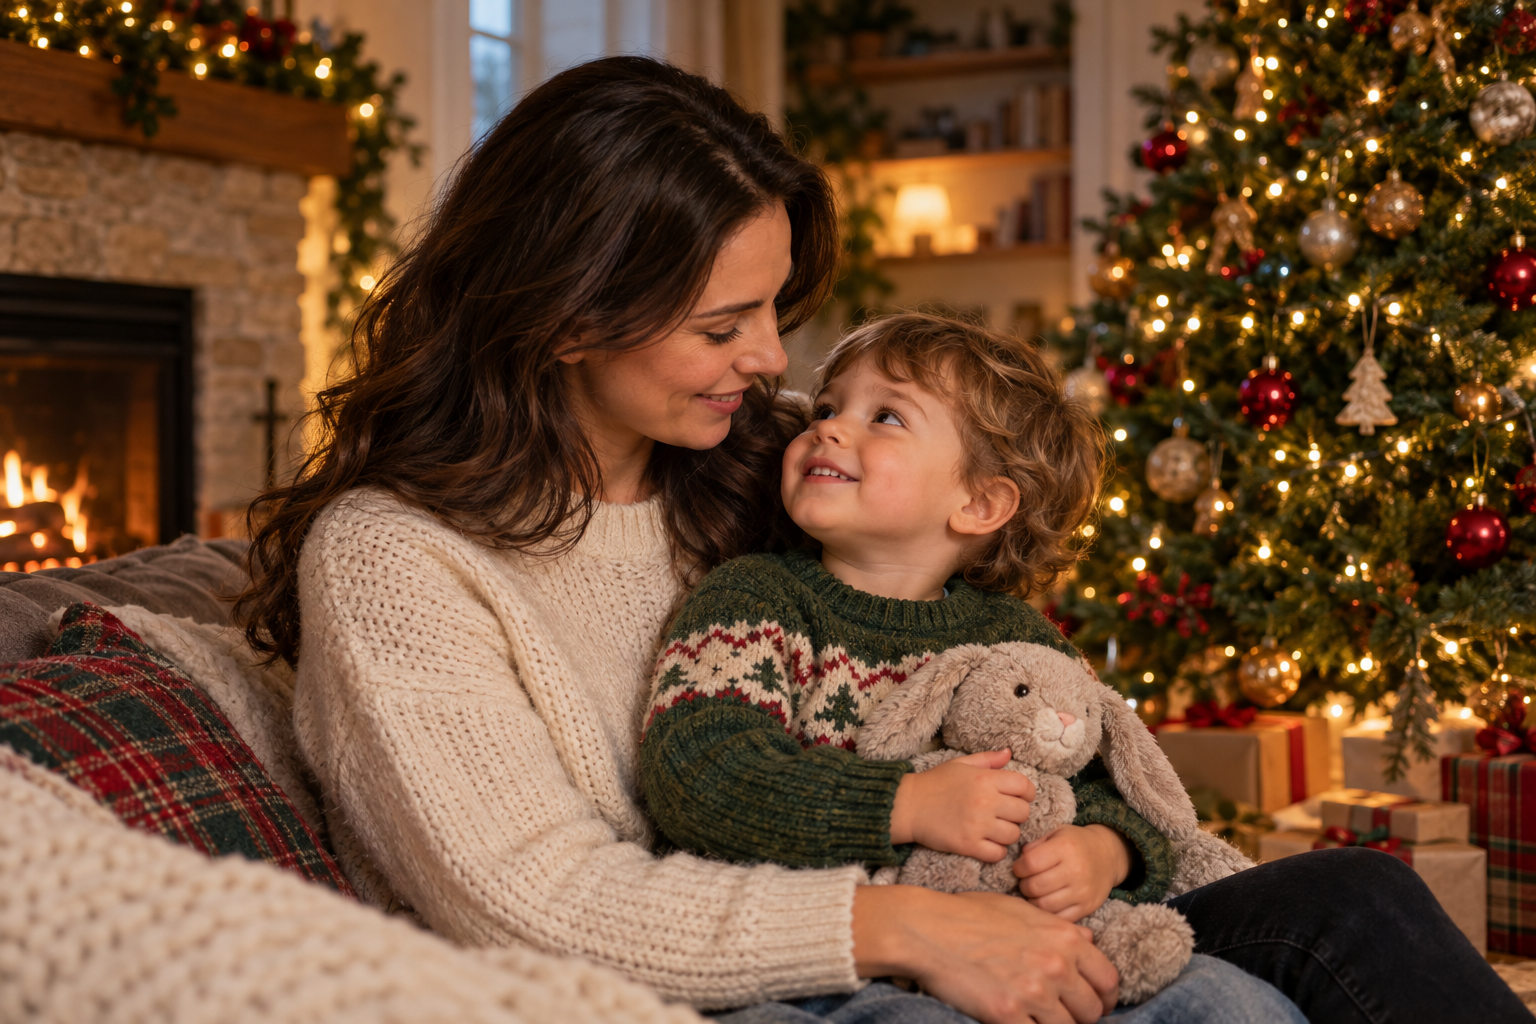
Generated illustration, not a photograph from the family session. Use it as an example of the visual balance to aim for; the image does not establish which light source or setup produced it.
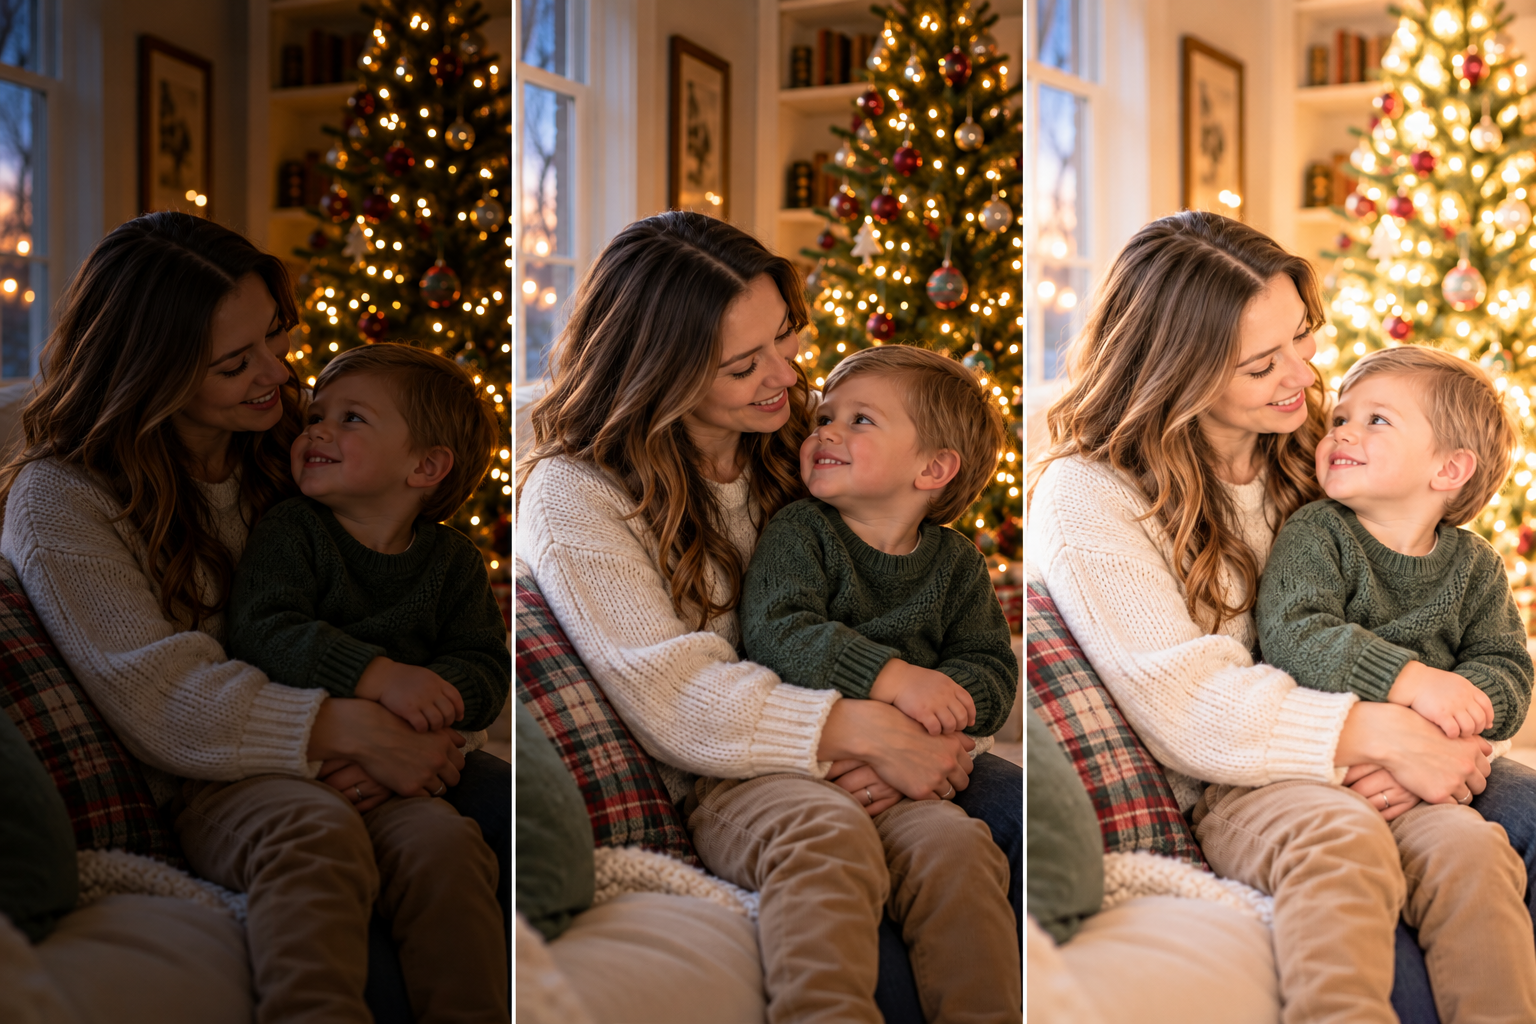
Generated comparison, not a controlled exposure test: small details vary between panels. Use it to discuss the general tradeoff, then make and review your own test frames.
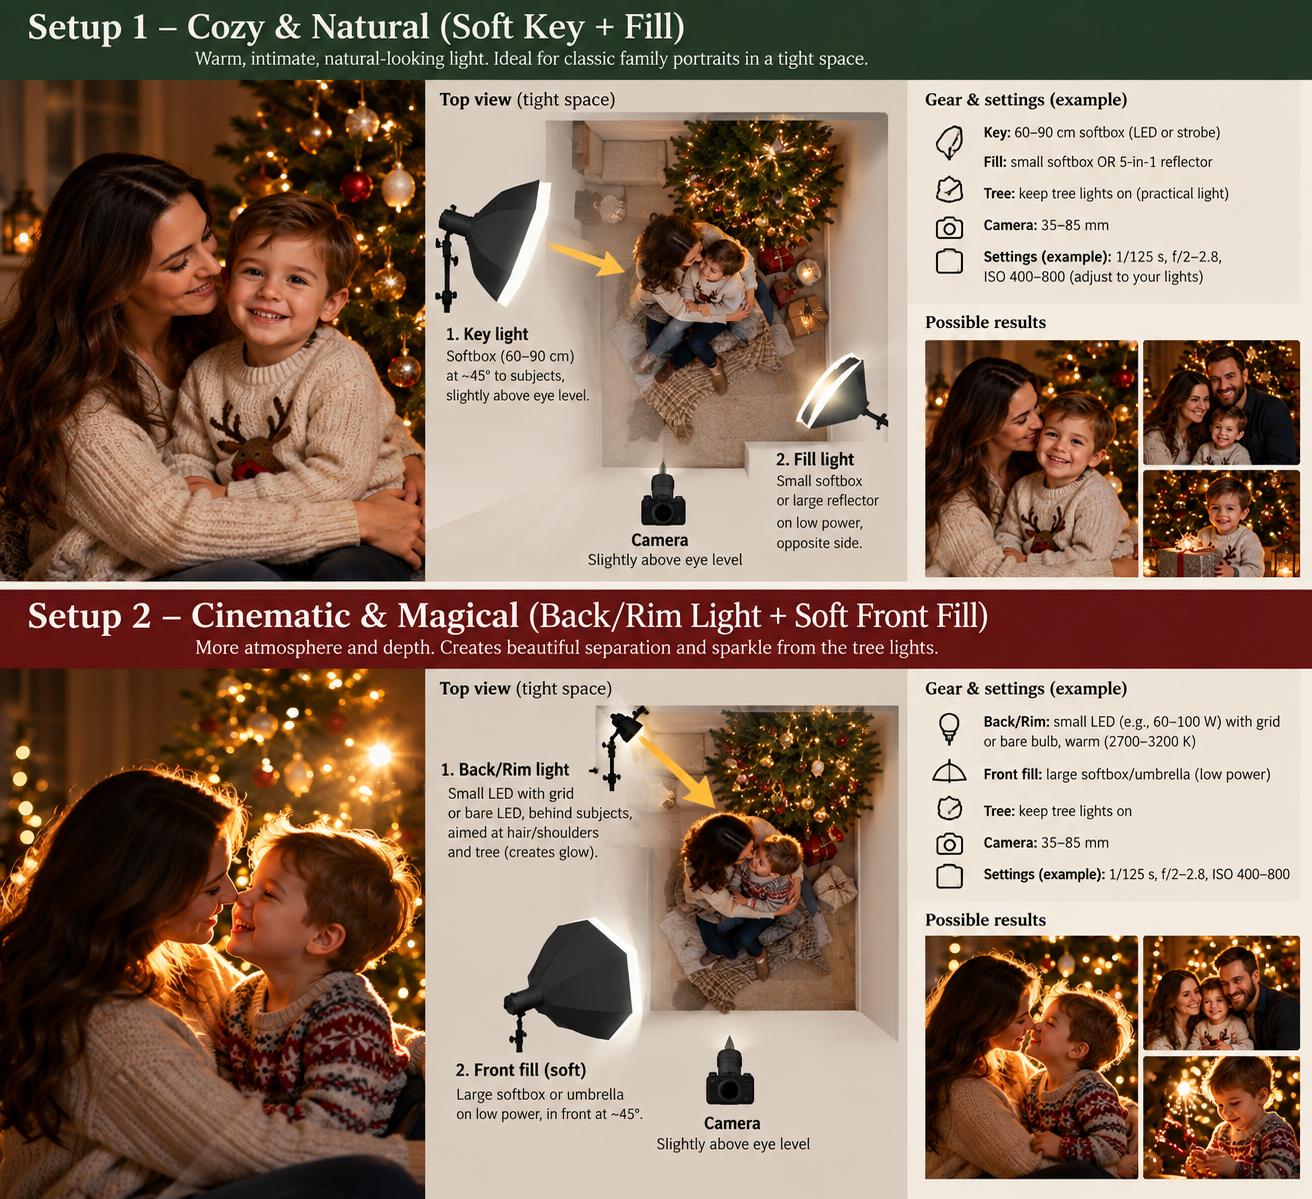
The supplied full lighting guide includes additional generated setup examples. Treat pictured equipment and settings as conceptual rather than universal recommendations.
Before the session
- Choose a short time when the child is rested. Plan a few minutes of photographs, with breaks or an early finish as needed.
- Check that the decorations are ready and the room can be kept reasonably calm. Turn off competing room lights only if the resulting light remains comfortable and safe.
- Pick a simple background. Move distracting objects, but do not spend the session rearranging the whole room.
- Choose one off-camera flash, a familiar modifier, a light stand, and a radio trigger if available. Confirm that the trigger and flash are compatible and working together; the historical equipment references are not a current compatibility check.
- Decide where everyone will sit or stand and where the camera and stand will go. Keep the stand secured and outside the child's reach and walking route; an adult should supervise it throughout.
- Have a simple plan for a photograph that includes the photographer: ask a familiar helper to operate the prepared camera, or test a supported camera and timer/remote beforehand. An adult should stay with the child.
- Charge batteries and rehearse the complete framing, flash trigger, focus, and exposure with an adult before inviting the toddler.
If the flash or trigger is unavailable, use window or room light only if it is bright enough for a motion-safe exposure. Otherwise simplify or defer the exercise rather than relying on tree lights to freeze a moving child.
Balance the room and the flash
Make a test frame without flash. Decide how much of the room and tree you want to see, then adjust exposure so the background feels intentional and the bulbs retain useful detail. A dark room is not automatically more festive; preserve enough ambient light for the atmosphere you want.
Add the off-camera flash and make a portrait from the same position. Adjust the flash and its placement until faces are clear while the background remains as intended. Avoid brightening the whole exposure until the tree lights lose their shape. The goal is a believable balance, not a fixed camera setting.
A dependable order is:
- Compose the whole scene. Include enough tree or decorations to establish the setting, while keeping faces prominent.
- Set the ambient background. Make a frame without flash and adjust room exposure for the tree and practical lights.
- Place one flash for the family. Start roughly 30–45 degrees to one side of the camera and slightly above face level, with the modifier aimed toward the group. Adjust for the room, group width, and shadow direction rather than treating the angle as a rule.
- Take a test portrait. Check faces across the group, eye focus, bulb detail, background edges, and movement.
- Change one variable at a time. Adjust flash power or distance for the faces; adjust camera exposure for the ambient background, within sync and motion limits.
Keep the shutter speed fast enough for the people and within the camera/flash sync limit. Aperture and ISO affect both flash and ambient exposure; shutter speed mainly changes ambient exposure within normal sync operation. If the flash does not cover the family evenly, reposition it or simplify the arrangement rather than letting a toddler wait while you add lights.
Practical lighting options
1. One off-camera flash: the evening default
Place one flash with a familiar soft modifier to the camera side of the family, slightly above face level. Keep it close enough to give soft light while allowing it to cover everyone; feather or angle it across the group if the nearest person is brighter than the farthest. Check for catchlights, visible eyes, and natural shadow direction.
Keep the stand stable and supervised, with its feet outside walking paths and decorations. Do not place hot lights, stands, or trailing cables where a child can reach or trip over them.
2. Window or room light: fallback when sufficient
Window or room light is a valid alternative only when it is bright enough for a motion-safe exposure and the faces remain clear. This may suit a daytime rehearsal better than the likely evening session.
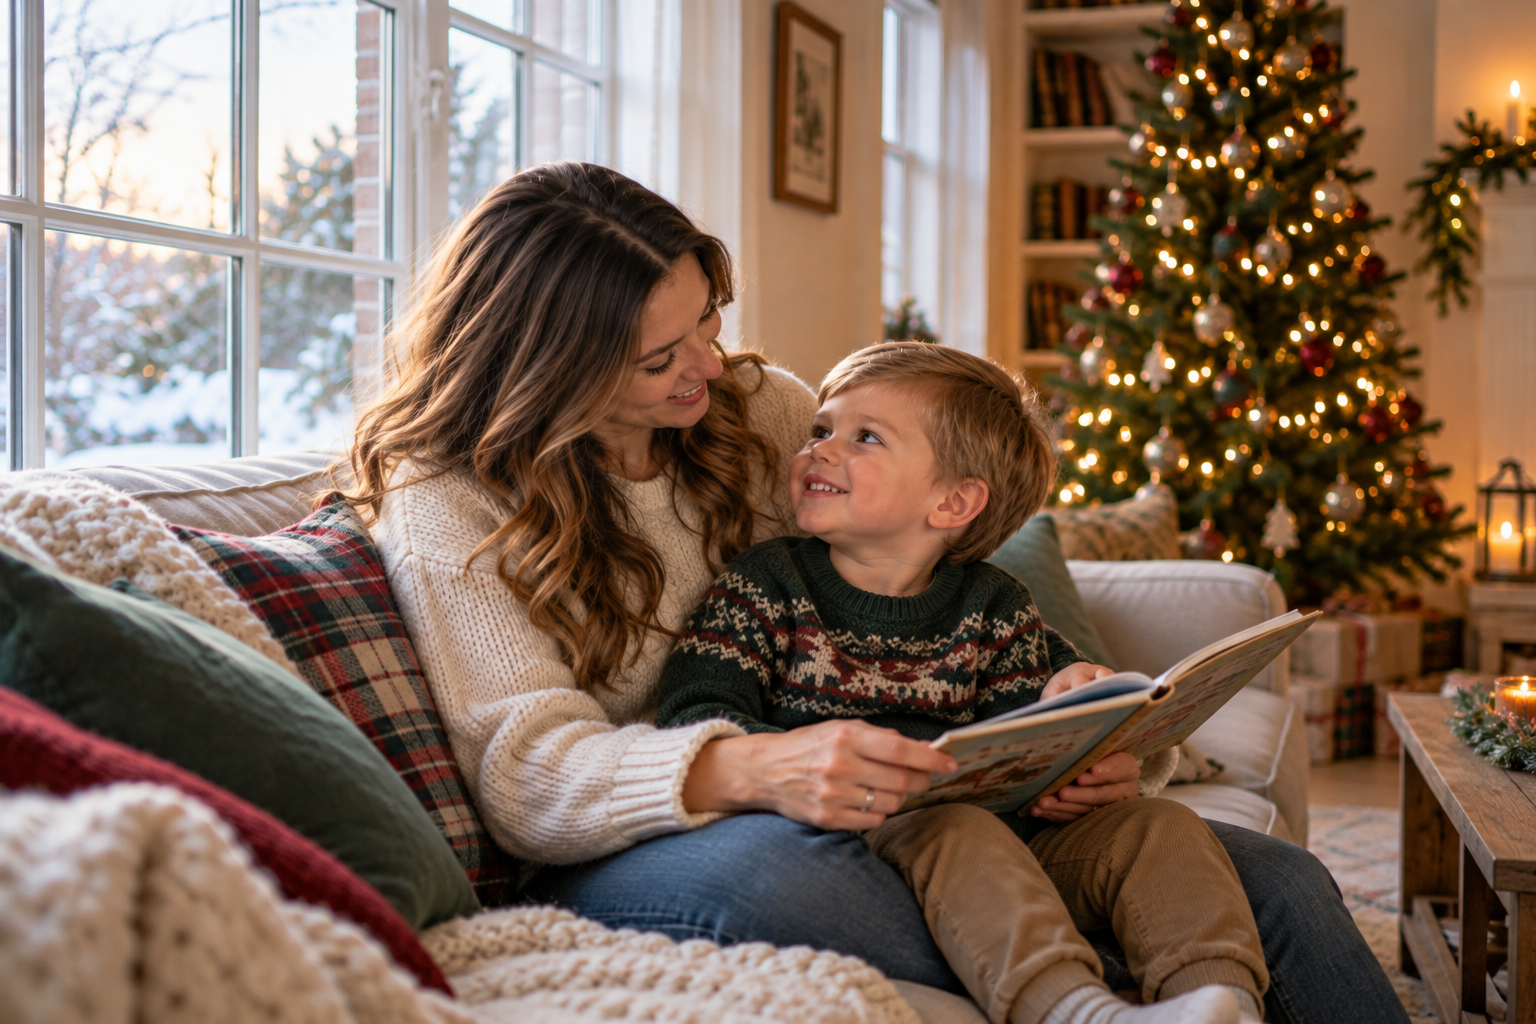
Generated illustration of an available-light alternative, not the recommended evening flash setup and not a photograph from the planned session.
3. Tree lights and other practicals
Use the tree lights as background ambience, not as the key light for a moving toddler. Nearby room lamps may add atmosphere, but check for mixed colour on skin and keep them from competing with faces.
On-camera bounce is a different technique from the off-camera key described here. Do not use the existing bounced-flash illustration as a visual example of this setup.
Positioning and simple direction
Keep the family close enough to interact naturally, but give faces room in the composition. Try a seated arrangement near the tree, with the adults angled slightly toward one another and the child safely between or beside them. Check that branches, bright bulbs, and ornaments do not appear to grow out of heads or overlap faces.
After one straightforward portrait, try one small activity:
- look together at an ornament from a comfortable distance;
- share a book or familiar toy near the tree;
- cuddle, talk, or let the child point out a decoration;
- make a parent-and-child photograph before trying the whole family again.
Give one prompt at a time and allow the interaction to happen. Do not ask a toddler to handle fragile, hot, or plugged-in decorations. Keep the session short, and stop if anyone is uncomfortable.
A compact shot list
Use the list as options, not a completion target:
- a wider frame that shows the family and the festive setting;
- a closer family interaction with faces clearly visible;
- a parent-and-child moment;
- a portrait of each adult, if time and interest allow;
- a close expression or shared reaction;
- one detail that helps tell the story, such as hands choosing an ornament.
If the all-family frame is important, test the camera support and timer before the session. Keep an adult beside the child and check focus on the first attempt. If that arrangement is not practical, photograph the family in pairs rather than extending the session to force a group portrait.
Try this / avoid this
Try
- Take a no-flash test to judge the room and tree before changing the light on faces.
- Keep the camera position and composition consistent while comparing one lighting adjustment.
- Check the edges of the frame, eye focus, skin colour, and whether the bulbs retain detail.
- Make one reliable portrait first; experiment only if the family still has energy.
Avoid
- Raising exposure until the bulbs become featureless white points.
- Letting the child stand or sit close to hot lamps, fragile ornaments, or tangled electrical cords.
- Using a shutter speed so slow that ordinary movement becomes accidental blur.
- Adding flash without checking how it changes both the faces and the background.
- Making a toddler wait while you build or troubleshoot an unfamiliar lighting setup.
Select and review
Choose a small, varied set rather than several near-identical frames. Check for sharp eyes, natural expressions, visible faces, controlled highlights, and a believable relationship between the people and the lights. Keep colour consistent across the set; mixed room lighting may make skin too orange or green, so correct it gently rather than removing all of the warm atmosphere.
Record the actual light source, camera position, and any flash used. Note which image best balances faces and decorations, what changed between test frames, and what you would simplify next time.